
How to Fix and Test Microphone Issues in Windows
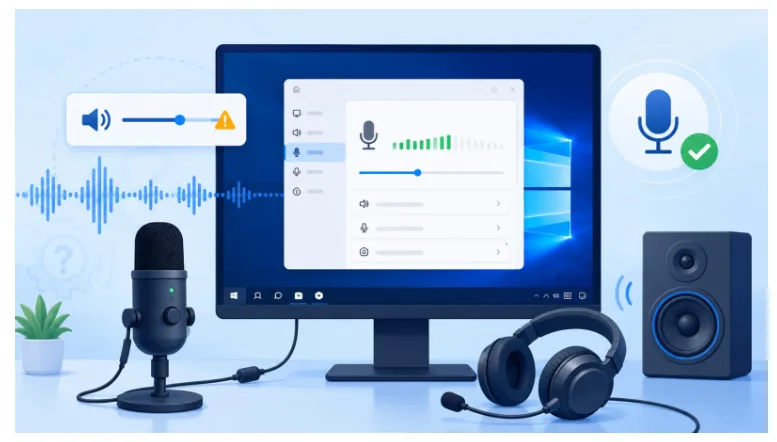
A microphone that suddenly stops working can interrupt everything from online meetings and virtual classes to gaming sessions and content creation. Windows offers a wide range of audio settings and hardware compatibility, but that flexibility also means microphone issues can appear for many different reasons. A simple permission setting, an outdated driver, or an incorrect input device can prevent your voice from being detected.
The good news is that most microphone problems can be solved without replacing your hardware. By following a logical troubleshooting process, you can identify the cause, apply the right fix, and confirm that everything is working properly before returning to your daily activities.
This guide walks through the most effective ways to diagnose and fix microphone issues in Windows while helping you understand why each step matters.
Start by Confirming the Hardware
Before changing Windows settings, make sure the microphone itself is functioning correctly. Physical problems are often overlooked because people immediately assume the operating system is responsible.
Inspect the microphone cable for visible damage and ensure every connector is fully inserted. USB microphones should be plugged directly into the computer instead of through an unreliable USB hub whenever possible. If you use a wireless headset, verify that it has sufficient battery power and is properly paired.
For microphones that use the traditional 3.5 mm audio jack, double check that the plug is connected to the microphone port rather than the headphone output. Desktop computers often have separate ports for audio input and output.
Once the physical connections look good, it helps to verify whether your voice is actually reaching the computer. Running a browser-based microphone test allows you to quickly determine whether the microphone is capturing sound before you spend time changing advanced system settings. This simple step can immediately tell you whether the problem is related to Windows configuration or the hardware itself.
Check Whether Windows Detects the Correct Microphone
Windows can recognize multiple audio devices at the same time. Built in laptop microphones, USB microphones, webcams, Bluetooth headsets, and gaming headsets may all appear in the available input list.
Open the Windows Settings application and navigate to the Sound section. Under Input, review the available recording devices and make sure the microphone you intend to use is selected as the default input device. If the wrong device is active, applications may record from an inactive microphone while ignoring the one you actually want.
After selecting the correct input device, it is equally important to verify that both your microphone and speakers are functioning as expected before joining an online meeting or recording audio. Sound Tester provides a convenient way to troubleshoot your audio setup by checking microphone input and speaker output in one place. Confirming that both devices work properly helps determine whether the issue lies with Windows settings, the connected hardware, or the application you are trying to use.
If Windows detects the correct devices but audio still fails, continue with the remaining troubleshooting steps to identify the underlying cause.
Verify Microphone Permissions
One of the most common causes of microphone failure is disabled privacy permissions. Modern versions of Windows allow users to control which applications are permitted to access recording devices.
Navigate to the Privacy and Security settings and locate the Microphone permissions section. Confirm that microphone access is enabled for the device.
Next, review the list of installed applications. Individual programs can be denied microphone access even if system wide permissions are enabled.
This issue frequently appears after Windows updates or fresh software installations because permission settings may be reset or require manual approval.
If your microphone works in one application but not another, permissions are often the first place to investigate.
Increase the Input Volume
Sometimes the microphone is functioning perfectly, but the recording level is too low for Windows or communication software to recognize speech clearly.
Open the Sound settings and choose your microphone. Review the input volume slider and increase it if necessary. Speak normally while watching the input level indicator.
If the meter barely moves, gradually raise the microphone volume until normal speech produces a healthy signal without distortion.
Avoid setting the level excessively high because this may introduce background noise or clipping during louder speech.
Finding the right balance creates cleaner recordings and improves voice quality during online conversations.
Restart Windows Audio Services
Windows relies on several background services to process audio correctly. Occasionally these services encounter temporary problems that interfere with recording devices.
Restarting the Windows Audio service can refresh the audio system without requiring major configuration changes.
You can access the Services management console, locate the Windows Audio service, restart it, and then reconnect your microphone if necessary.
This simple procedure often resolves problems that appear after software crashes or unexpected shutdowns.
Update or Reinstall Audio Drivers
Audio drivers act as the communication bridge between Windows and your hardware. If they become outdated or corrupted, your microphone may disappear, produce poor quality recordings, or fail completely.
Open Device Manager and expand the Audio Inputs and Outputs section. Locate your microphone and check whether Windows reports any warning icons.
Updating the driver through Windows or installing the latest version supplied by the hardware manufacturer may resolve compatibility issues.
If updating does not help, uninstall the device and restart the computer. Windows will usually reinstall the necessary drivers automatically during startup.
Driver problems are especially common after major operating system upgrades or motherboard chipset updates.
Disable Exclusive Mode
Certain professional recording software can take exclusive control of an audio device, preventing other applications from accessing the microphone.
Open the microphone properties through the Sound Control Panel and review the Advanced tab.
Disable the options that allow applications to take exclusive control if you frequently switch between conferencing software, recording tools, and streaming applications.
Removing exclusive control improves compatibility across multiple programs and reduces unexpected conflicts.
Test With Another Application
Not every microphone problem originates within Windows. Sometimes only one application has incorrect audio settings.
Open another recording application and see whether the microphone functions correctly.
If it works elsewhere, review the audio settings inside the original software. Many communication programs allow users to manually choose an input device, and an outdated selection can prevent proper recording.
Testing across multiple applications quickly narrows down the source of the problem.
Reduce Background Noise
Even when the microphone records successfully, excessive background noise can make conversations difficult.
Move closer to the microphone whenever possible instead of increasing the recording gain dramatically.
Turn off nearby fans, televisions, or speakers that may interfere with voice clarity.
If your microphone includes built in noise reduction features, experiment with those settings to determine whether they improve speech quality without making your voice sound unnatural.
For USB microphones, placing the device on a stable stand rather than directly on the desk can also reduce vibrations and unwanted sounds.
Check for Windows Updates
Microsoft frequently releases updates that improve hardware compatibility and correct known audio bugs.
Open Windows Update and install any available patches.
Restart the computer afterward to ensure new drivers and system files are fully loaded.
While updates do not solve every microphone issue, they often eliminate compatibility problems that affect newer hardware.
Try the Microphone on Another Computer
If every software solution has been exhausted, connect the microphone to another computer.
A successful recording on another system indicates that the original Windows installation or configuration requires additional troubleshooting.
If the microphone fails on multiple computers, the hardware itself may be damaged.
This comparison provides one of the clearest ways to separate hardware failure from software configuration issues.
Consider Application Specific Settings
Many communication platforms maintain their own independent microphone settings.
Review the input device selection inside video conferencing software, streaming applications, gaming clients, and voice chat programs.
Automatic device switching does not always occur when new hardware is connected.
Selecting the correct recording device manually often restores functionality immediately.
Also review features that automatically adjust microphone sensitivity. While convenient, these settings occasionally reduce recording volume too aggressively in quiet environments.
Maintain a Healthy Audio Setup
Preventive maintenance reduces the likelihood of future microphone problems.
Keep drivers current, avoid repeatedly unplugging USB devices while applications are running, and periodically clean connectors to remove dust or debris.
Store portable microphones carefully to prevent cable strain and connector damage.
If you regularly use multiple microphones, giving each device a clear name within Windows can make future troubleshooting much faster.
Developing these habits minimizes interruptions and helps maintain reliable audio performance over time.
Final Thoughts
Microphone issues in Windows can feel frustrating, especially when they appear moments before an important meeting or recording session. Fortunately, most problems can be traced back to a small number of causes, including incorrect device selection, disabled permissions, outdated drivers, low input volume, or application specific settings.
Approaching the problem methodically saves time and prevents unnecessary hardware replacements. Begin with the physical connections, confirm that Windows recognizes the microphone, verify permissions, and work through software settings one step at a time. Testing after each adjustment makes it much easier to identify the solution.
With a consistent troubleshooting process and regular maintenance, you can keep your microphone performing reliably and ensure clear communication whenever you need it.